NinjaC2 v2.2 include new features including :
NinjaC2 can be downloaded from github
- Enhanced User interface
- New Amazon Web Services EC2 instance creation automation : deploy Ninja to new AWS instance in 5 minutes.
- More organized file management
- Now every campaign has its own folder that contain files and configuration.
- Updated Mimikatz script
- Fixes for Migrator and C# agent
- Defense Analysis Updated with more EDR/AV process name detection
Deploy Ninja to new AWS instance in 5 minutes
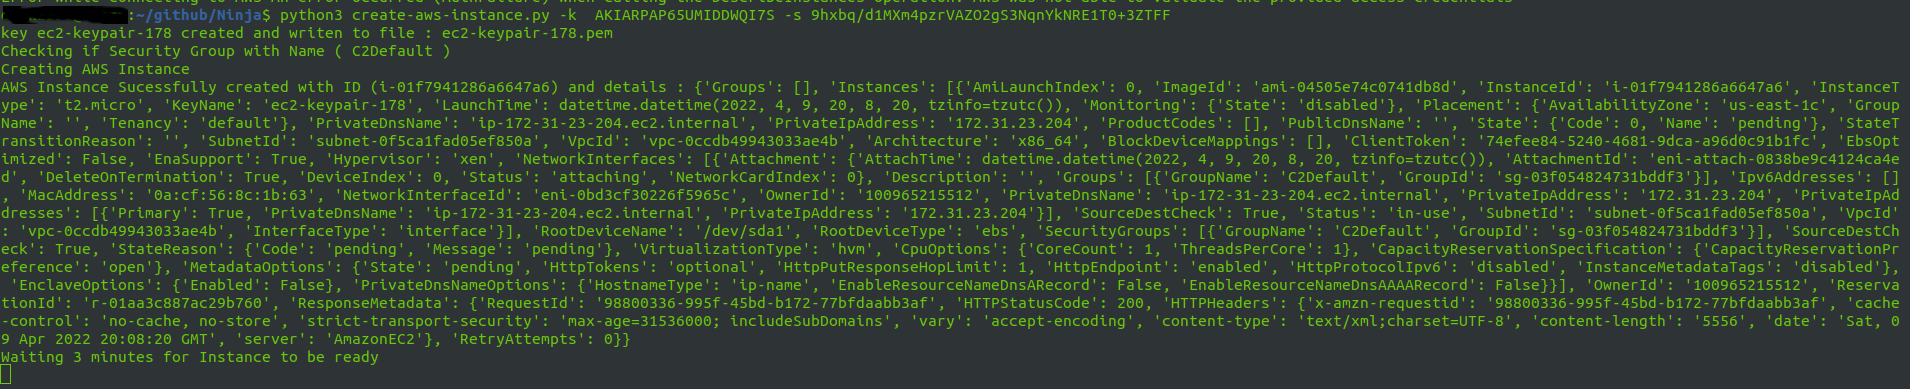
I usually use AWS to host my C2 for red team engagement and every time i need to create new campaign i go to the portal and create the instance and configure it which is time consuming. i created a script to deploy NinjaC2 to new AWS instance in just 5 minutes and you only need to provide API key and the script will create and configure NinjaC2 without any interaction. below show the process to use AWS automation.
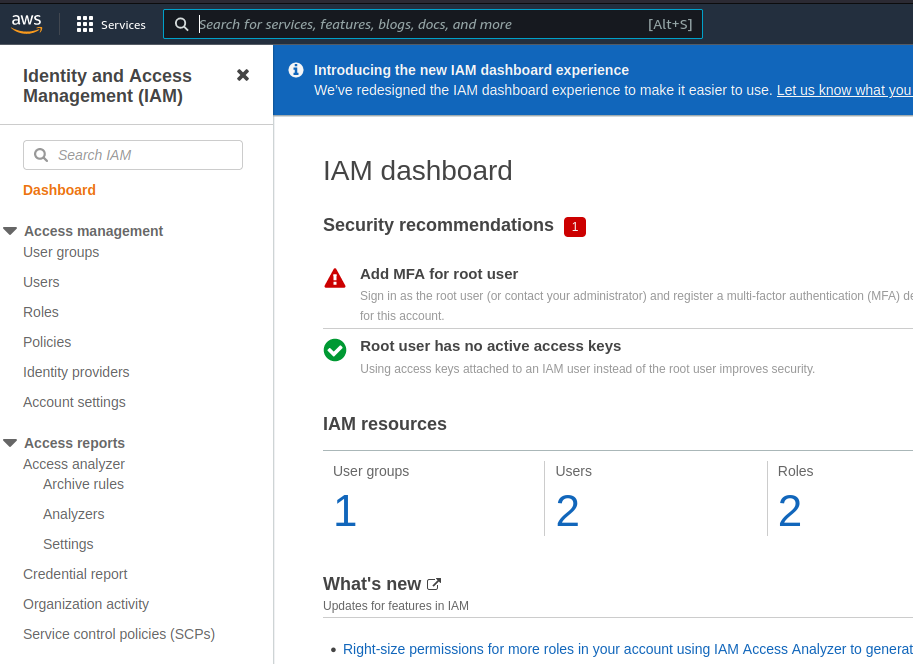
- after you create AWS account. login to portal and go to IAM to create your new credentials to be used by the API.
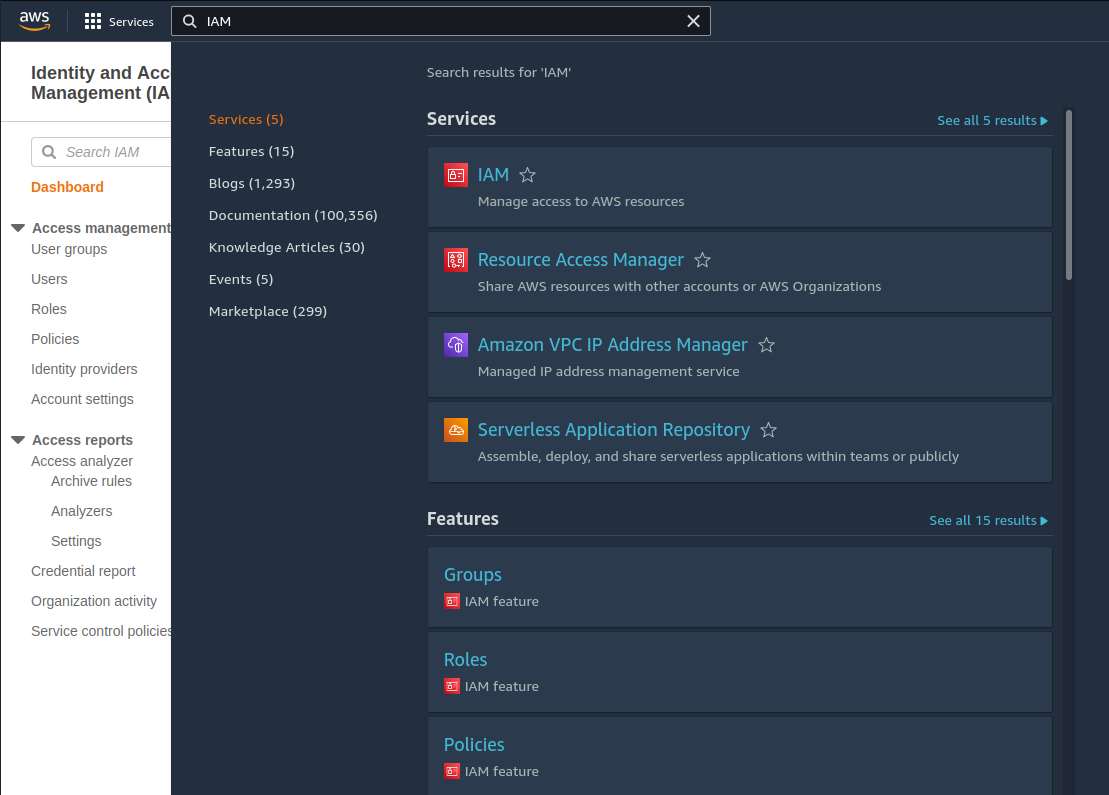
Now go to Users
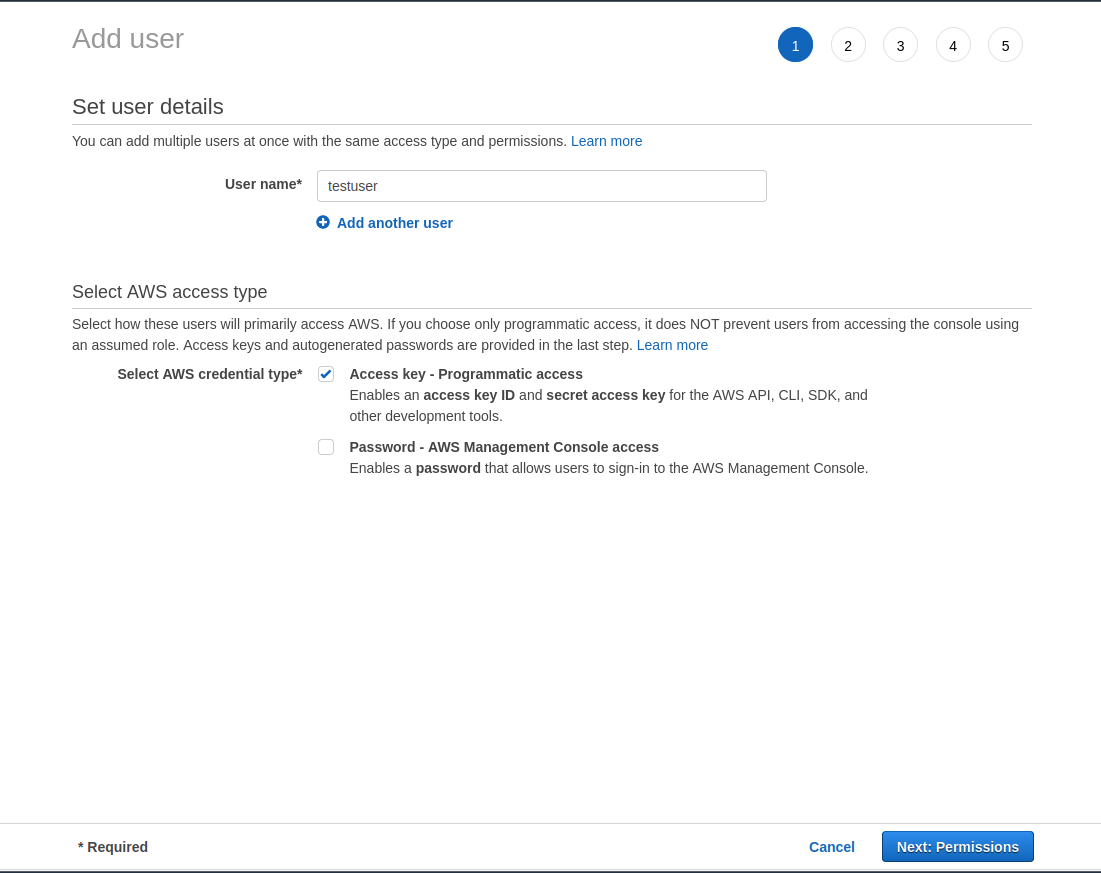
Click add new user

Provide name for the new user and check Access key – programmable access.then click next
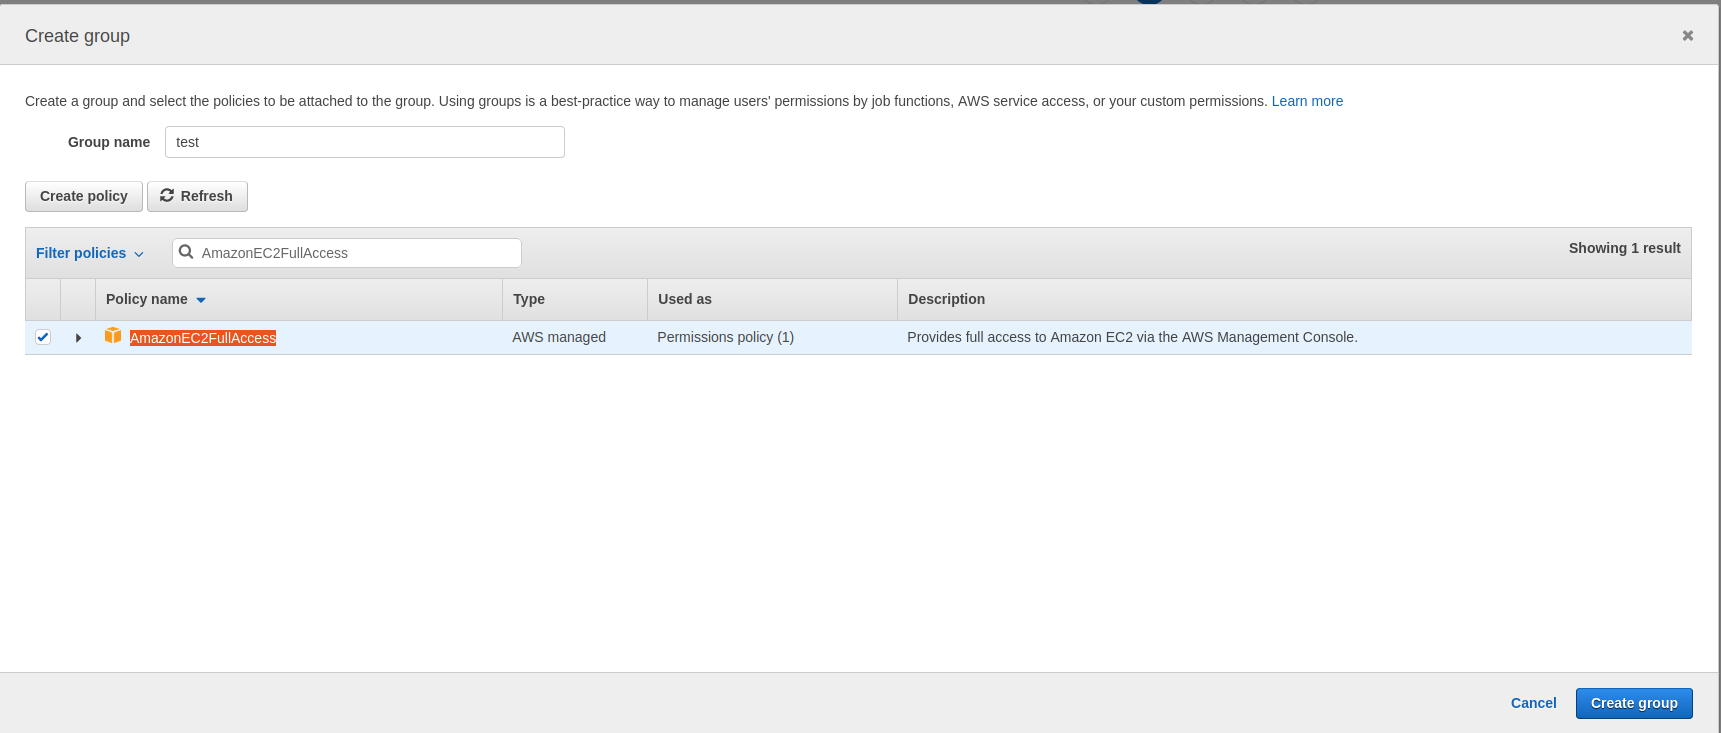
In permission click create new group.
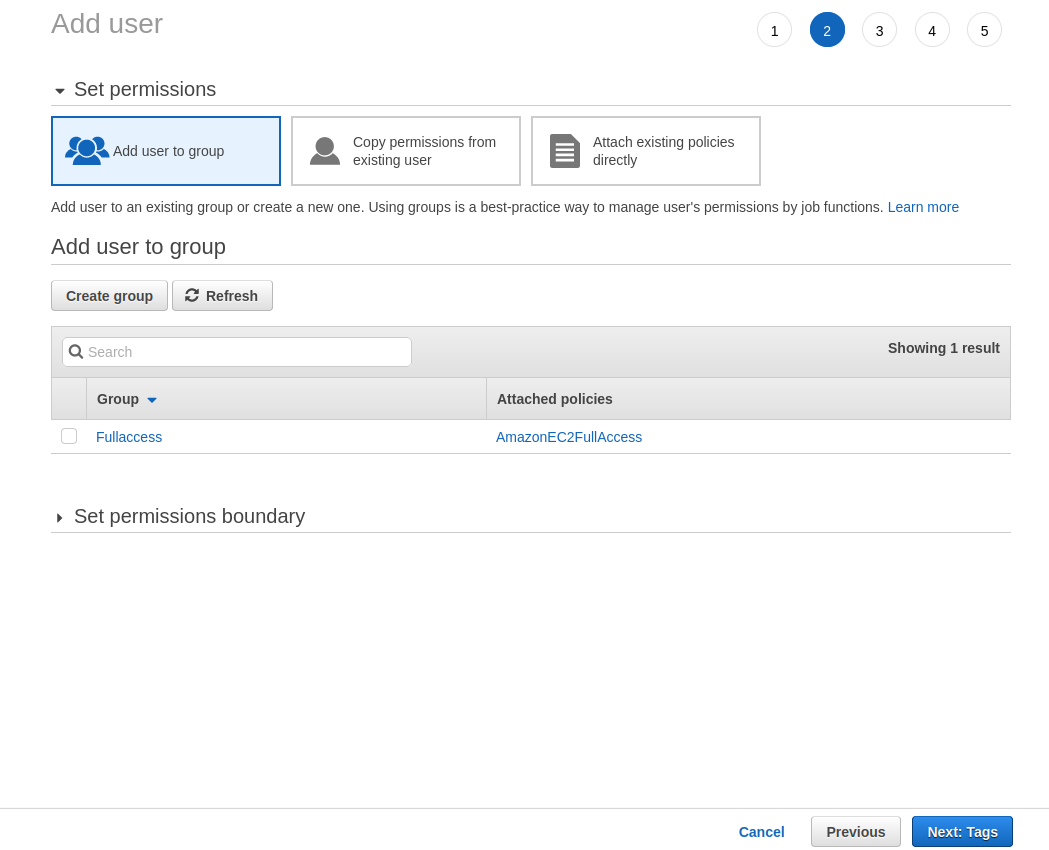
Chose name for the new group and chose the required policy if you have experience in AWS , if not just chose ( AmazonEC2FullAccess ) . click create group and click next.
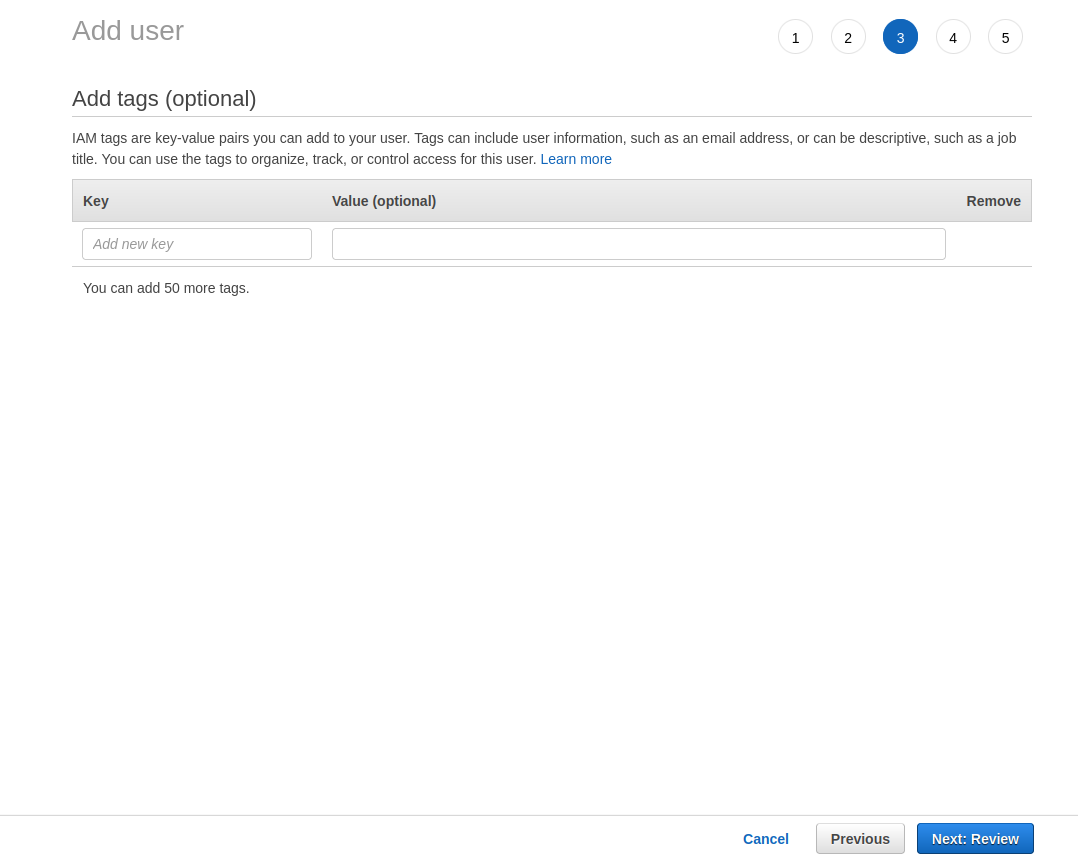
skip the tags.
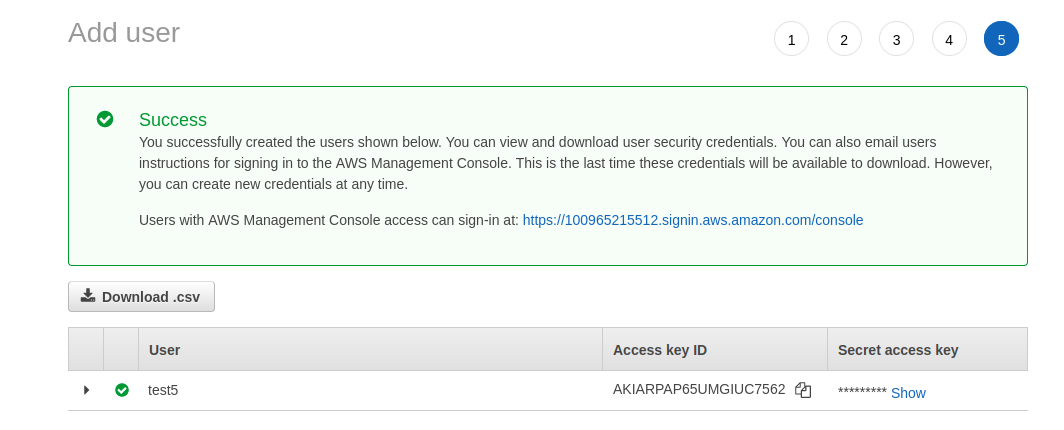
Now click create user to create the new user.
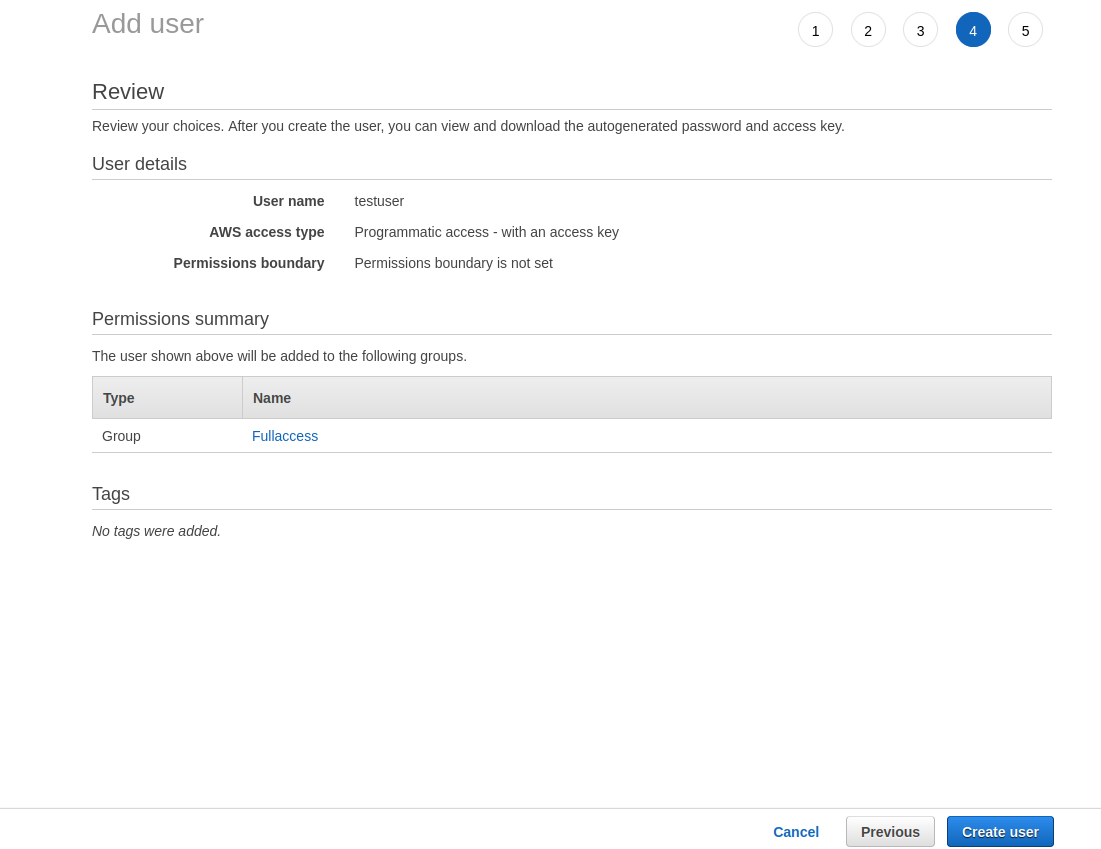
Once the user created you will see username , access key , secret key. copy them as you will use them in script.
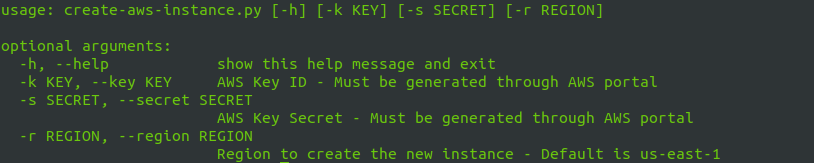
Now go to Ninja installation and you will find script create-aws-instance.py . two argument required which are key and secret and third one is region , if not provided it will create instance in region (us-east-1).

Now you are ready to connect and enjoy using NinjaC2
Credits
I would like to thank zAbuQasem for his contribution in Ninja New UI and payload, file management .